
I play this everyday and so far the highest score, which I’ve gotten once, is 10300, equivalent to the guessing on the third try each time (and fourth for the last) if I remember correctly.

I play this everyday and so far the highest score, which I’ve gotten once, is 10300, equivalent to the guessing on the third try each time (and fourth for the last) if I remember correctly.
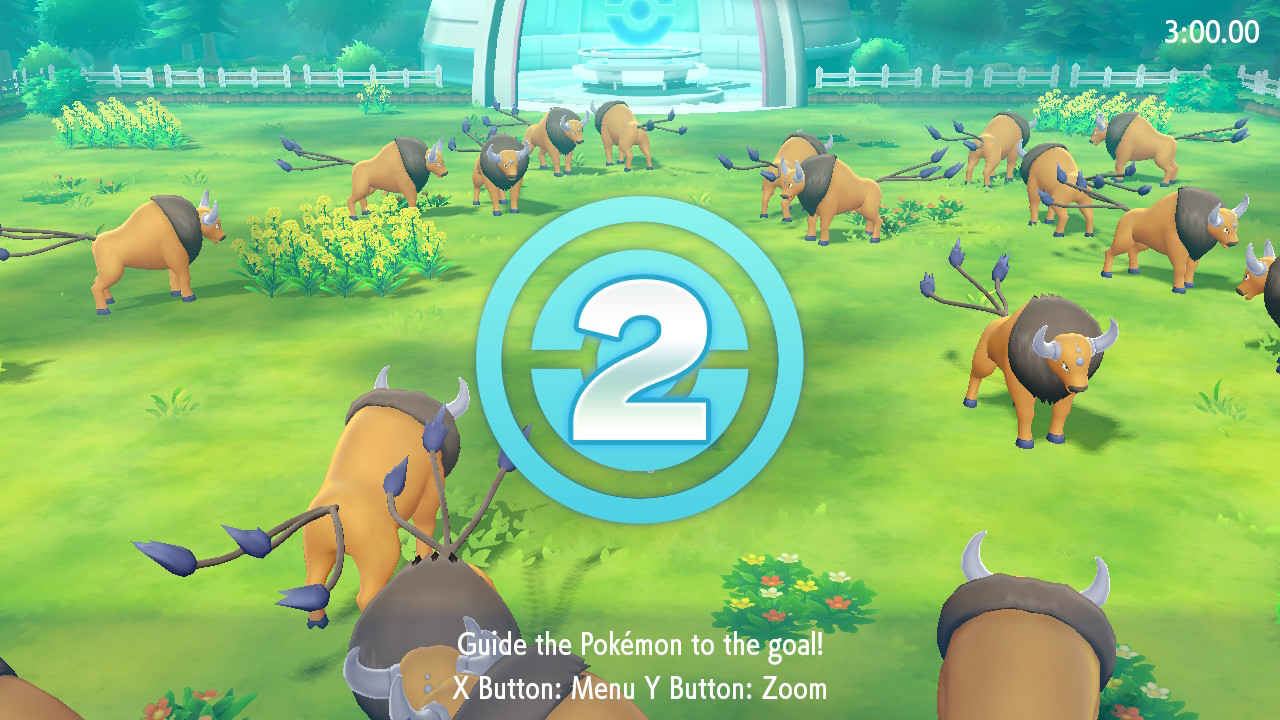
Yesterday, I collected the second to last GO Park Play Yard (Tauros) I needed. You need to transfer 25 Pokémon of the same species or Alolan form from GO to Let’s GO in order to unlock the play yard mini-game for that species or form. Tauros was a Pokémon GO regional—and so is the last one I need: Farfetch’d. Farfetch’d is the hardest since it’s a Japan regional, only given out rarely otherwise. It’s harder to find Japanese players to add when I’m mainly adding from english servers.
Also, I beat the game a long time ago and collected a living species dex. Still haven’t collected all the gender differences I believe though, nor all Shinies, nor much XL/XS, nor Level 1 transfers from GO. And I haven’t done the Master Trainers either, so still a while to go on this game otherwise.

Today marks the 52nd week I’ve been doing these blog posts each week. I also reached the Master Ball tier in Pokémon Champions Singles today. I’ve still got to do it in Doubles this season, since I did for the first two.
I’ve collected all the mystery gifts so far except Gallade, which I forgot about.
I have a total of 135 unique forms, all but 1 from Recruiting, and have bought everything in the Frontier Shop except Clothing and Mega Stones so far.
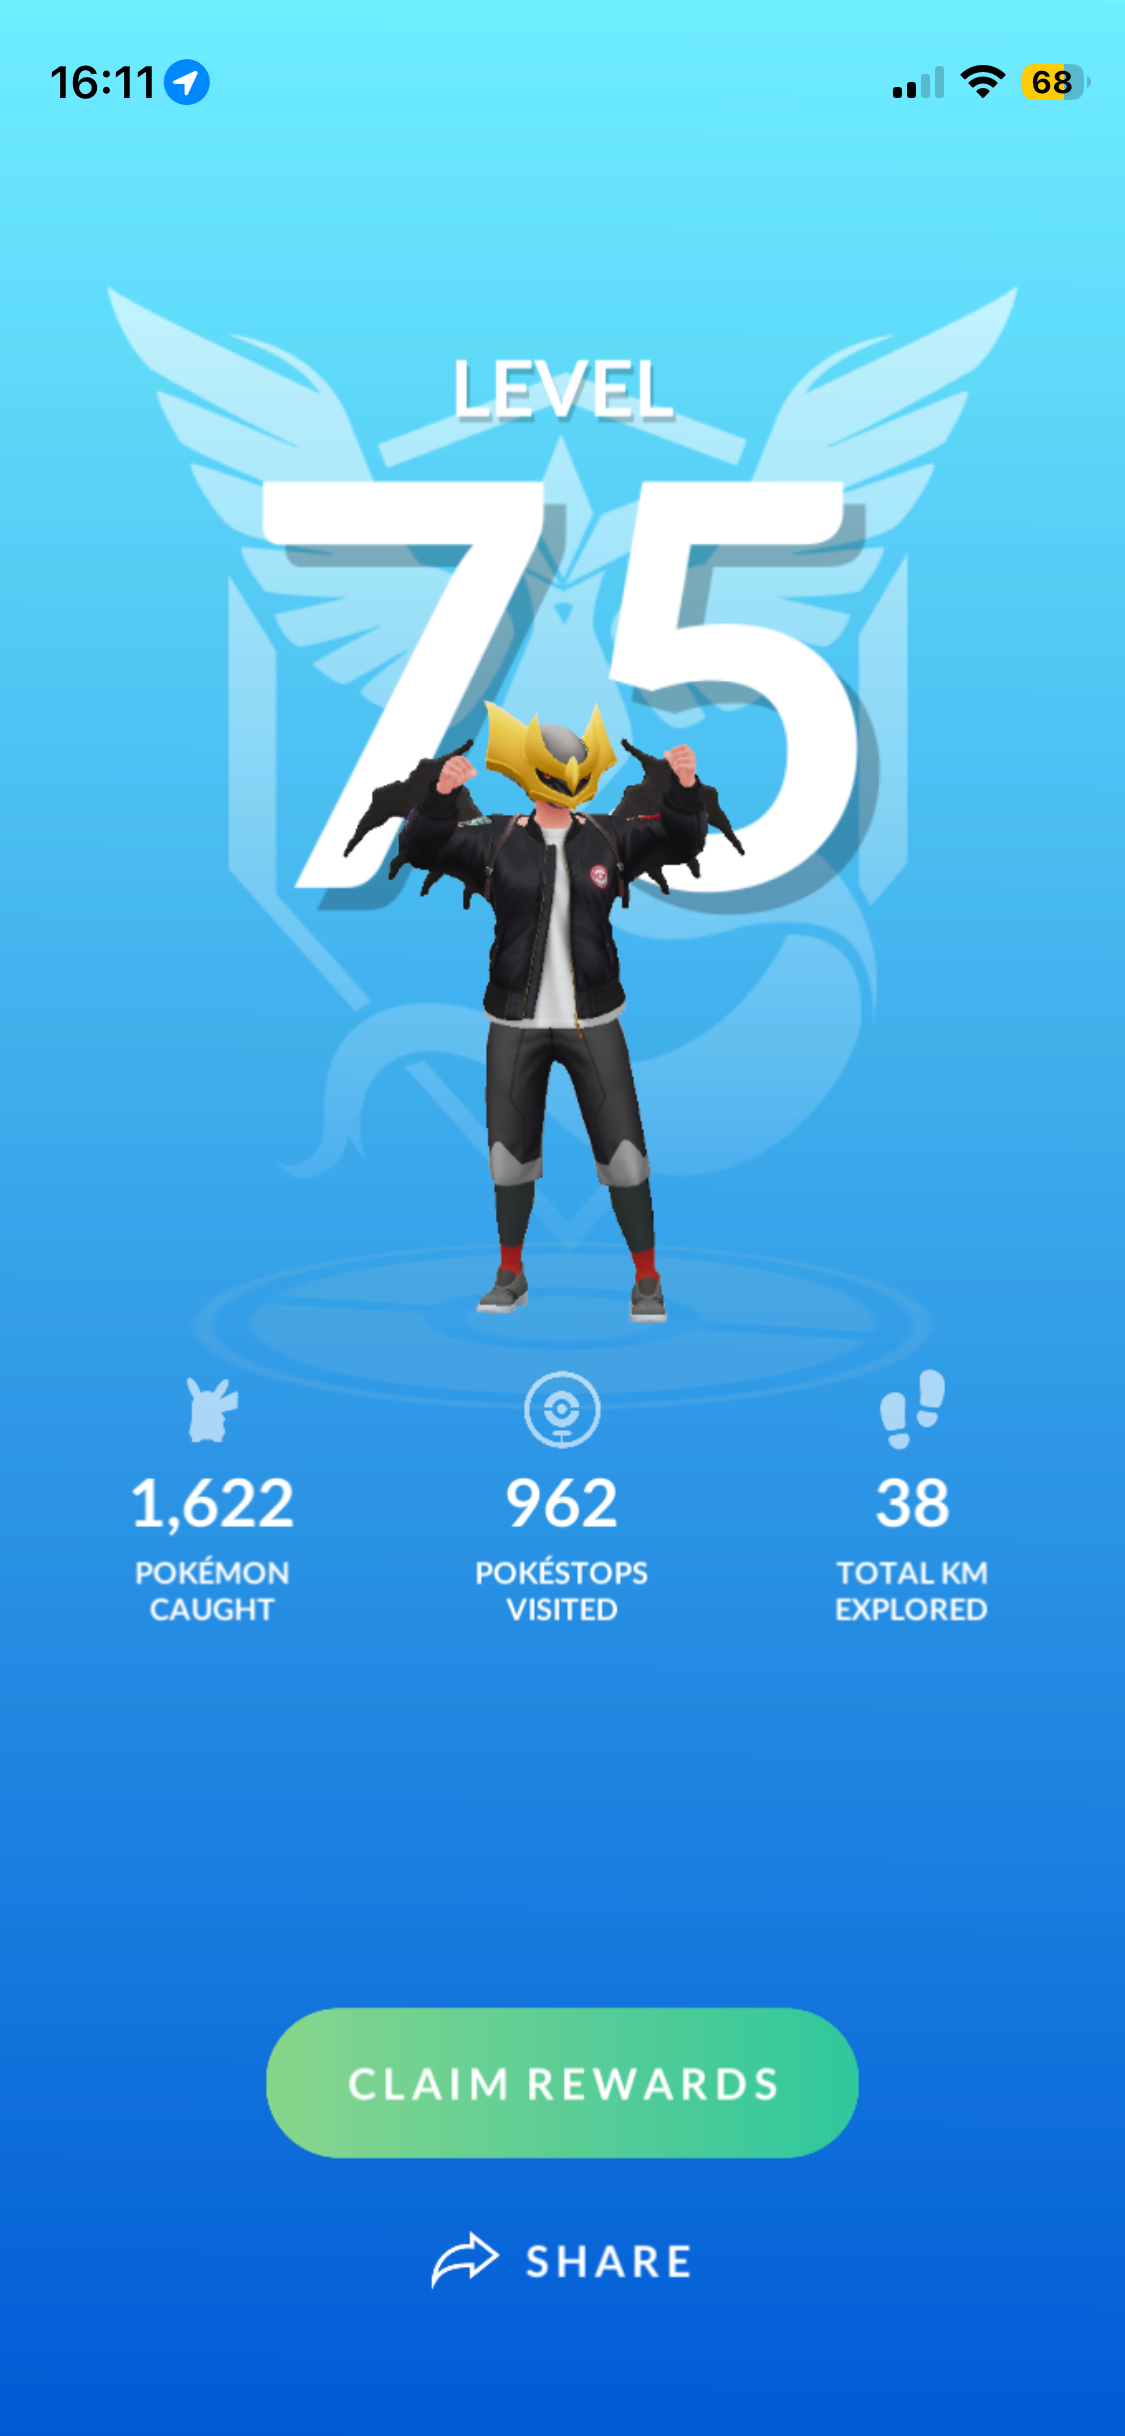
Not much notable has happened in the past 3 weeks as I’ve made it to Level 75 but I’m up to 541 species now in my living shiny Pokédex.
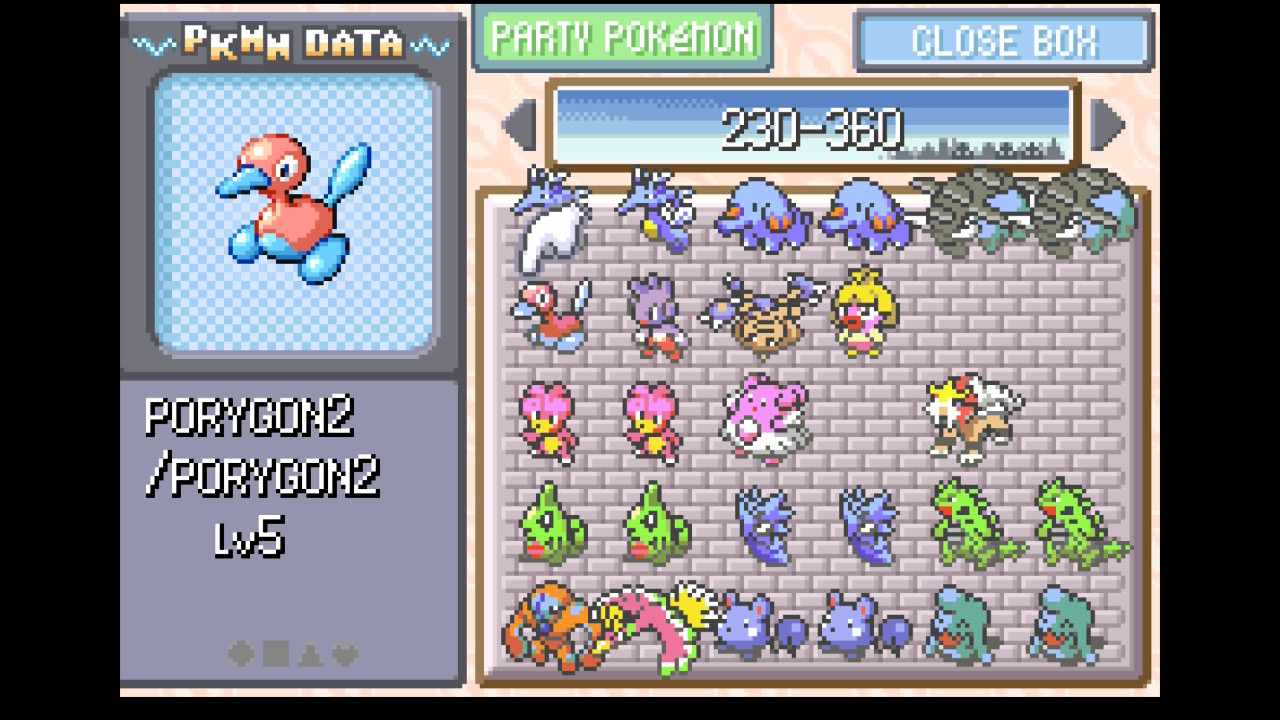
I haven’t played too much since last time, but I evolved the two Tyranitar, and played FireRed until I could trade—and did the 15 available trade evolutions. Next is breeding for the Charmander line. I also may start the other FireRed save file to get the Squirtle line. Then it’ll be a case of going through either save files to get the Kabuto line and all the version exclusives and both to get Suicune and Raikou.
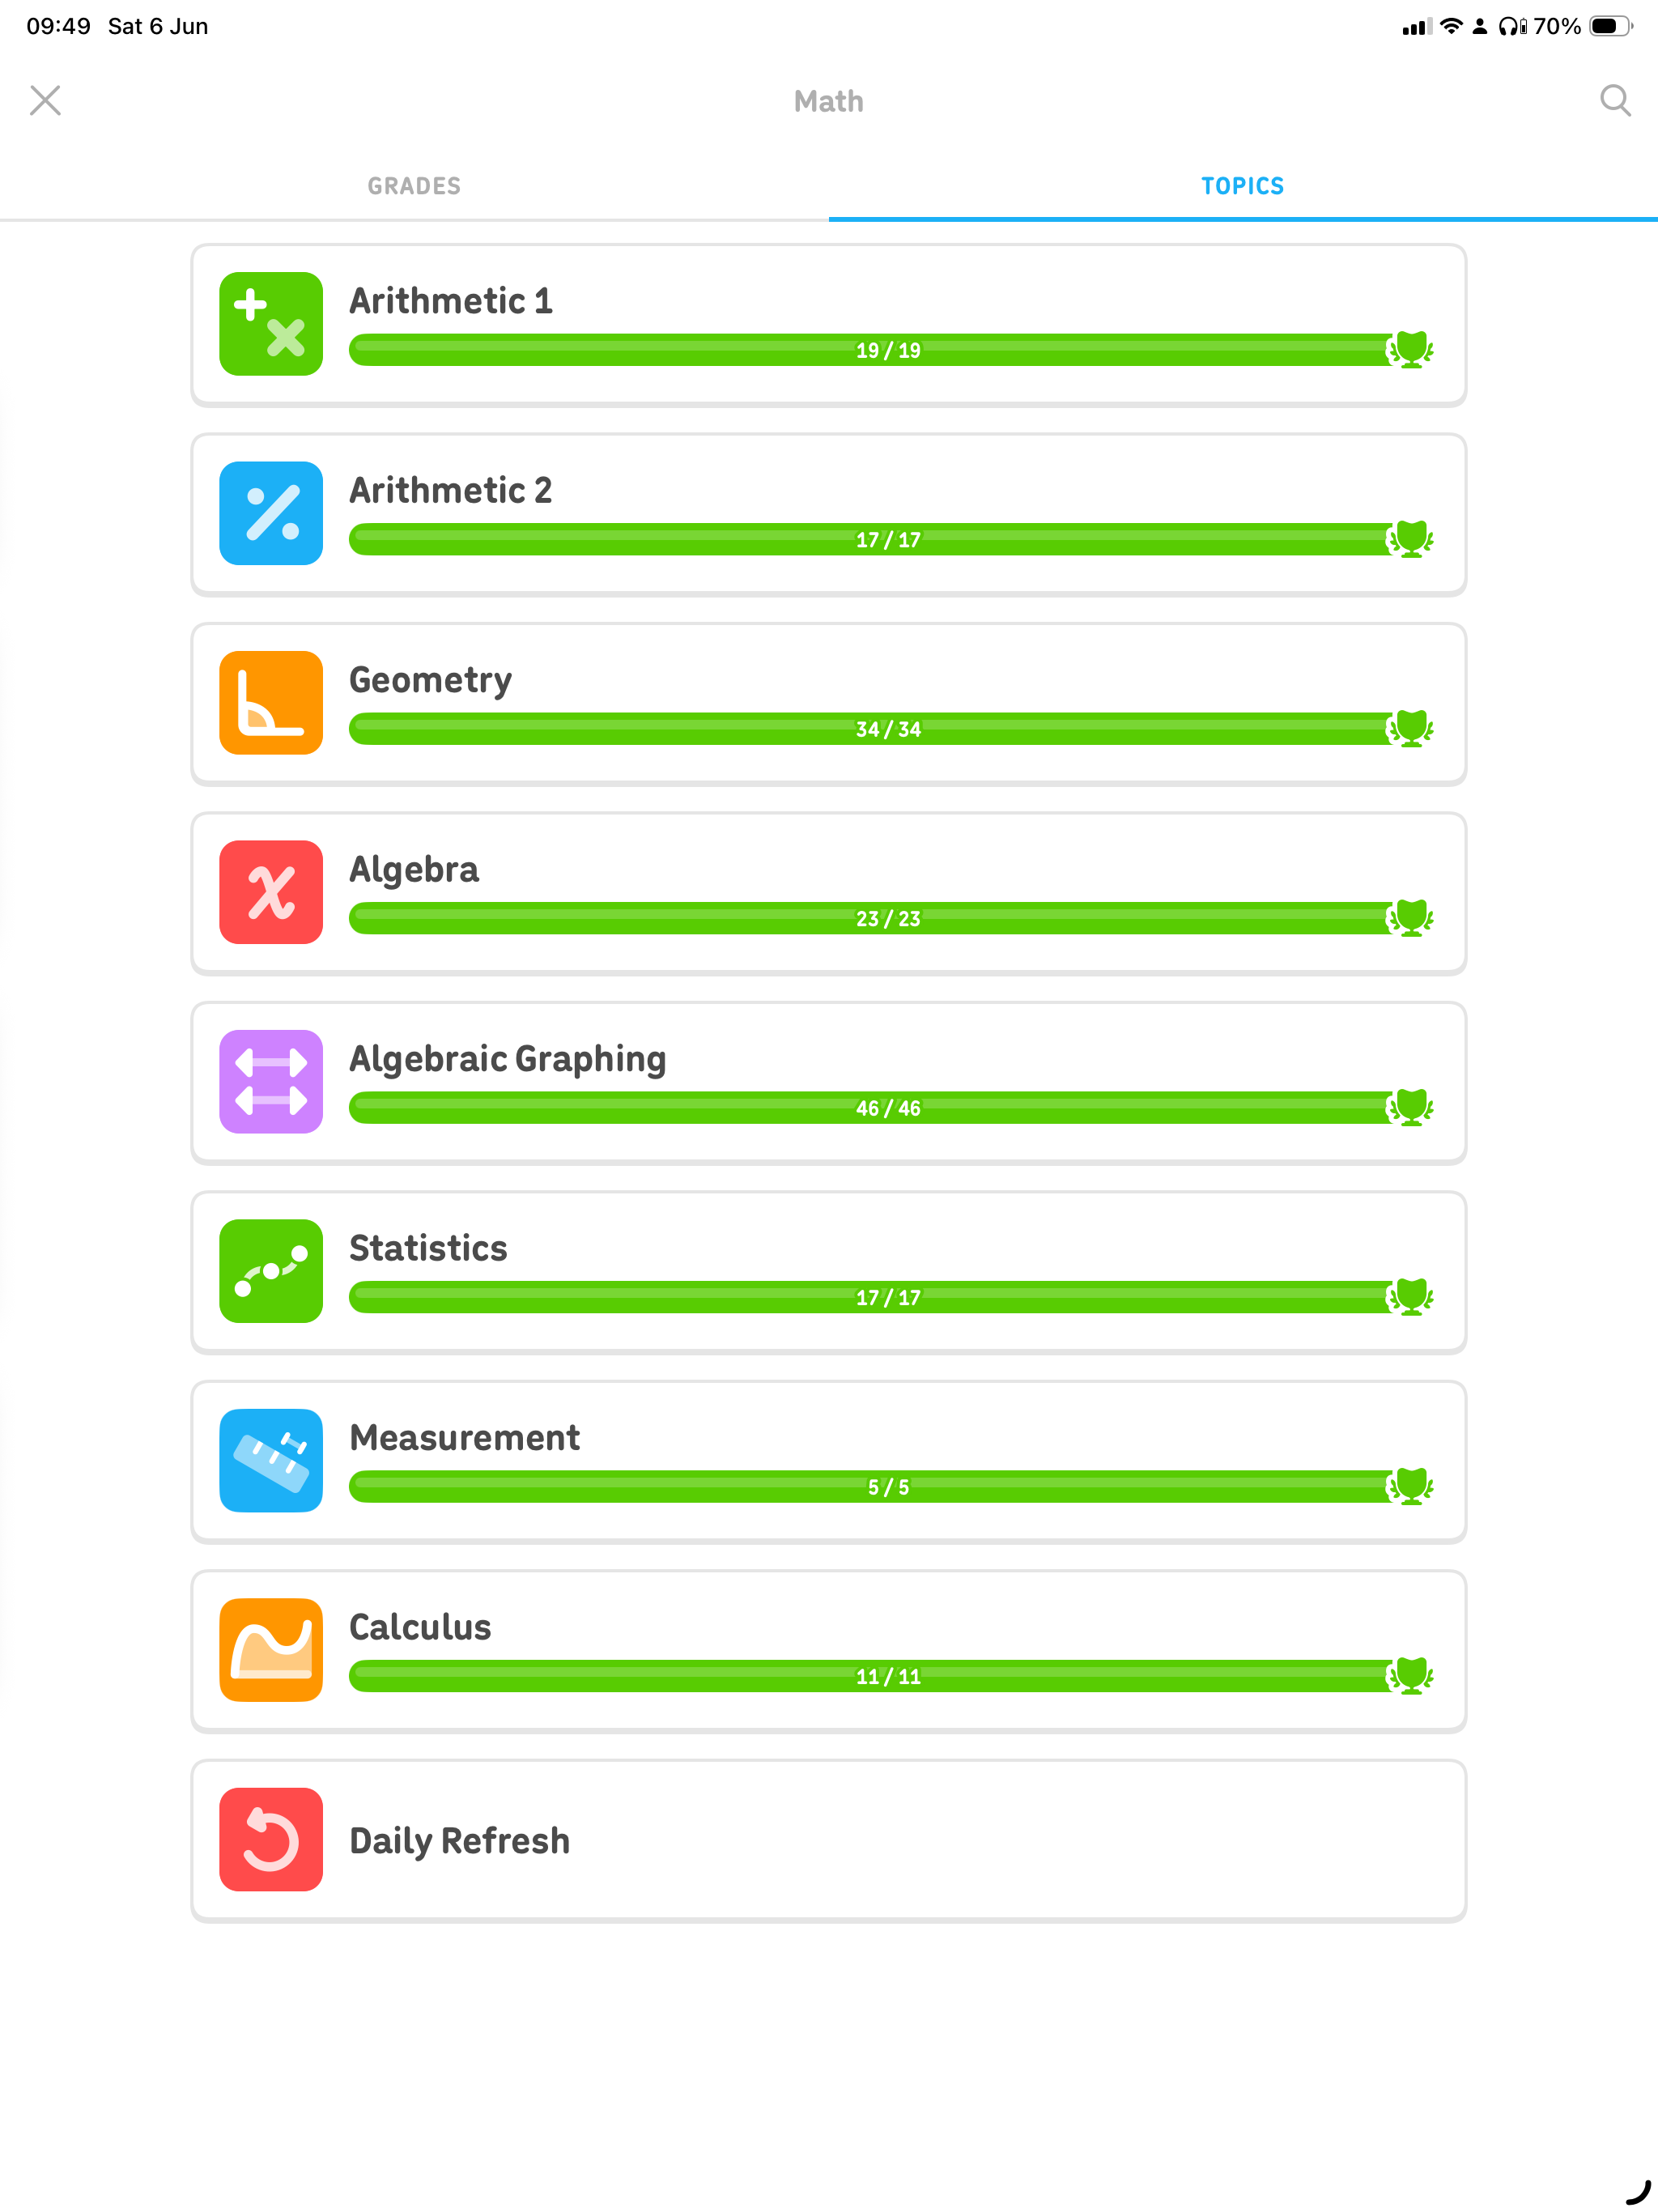
After months and months and probably at least a couple of updates, I’ve finally caught up on completing the Math Topics on Duolingo. I’m still catching up on the Grades part.
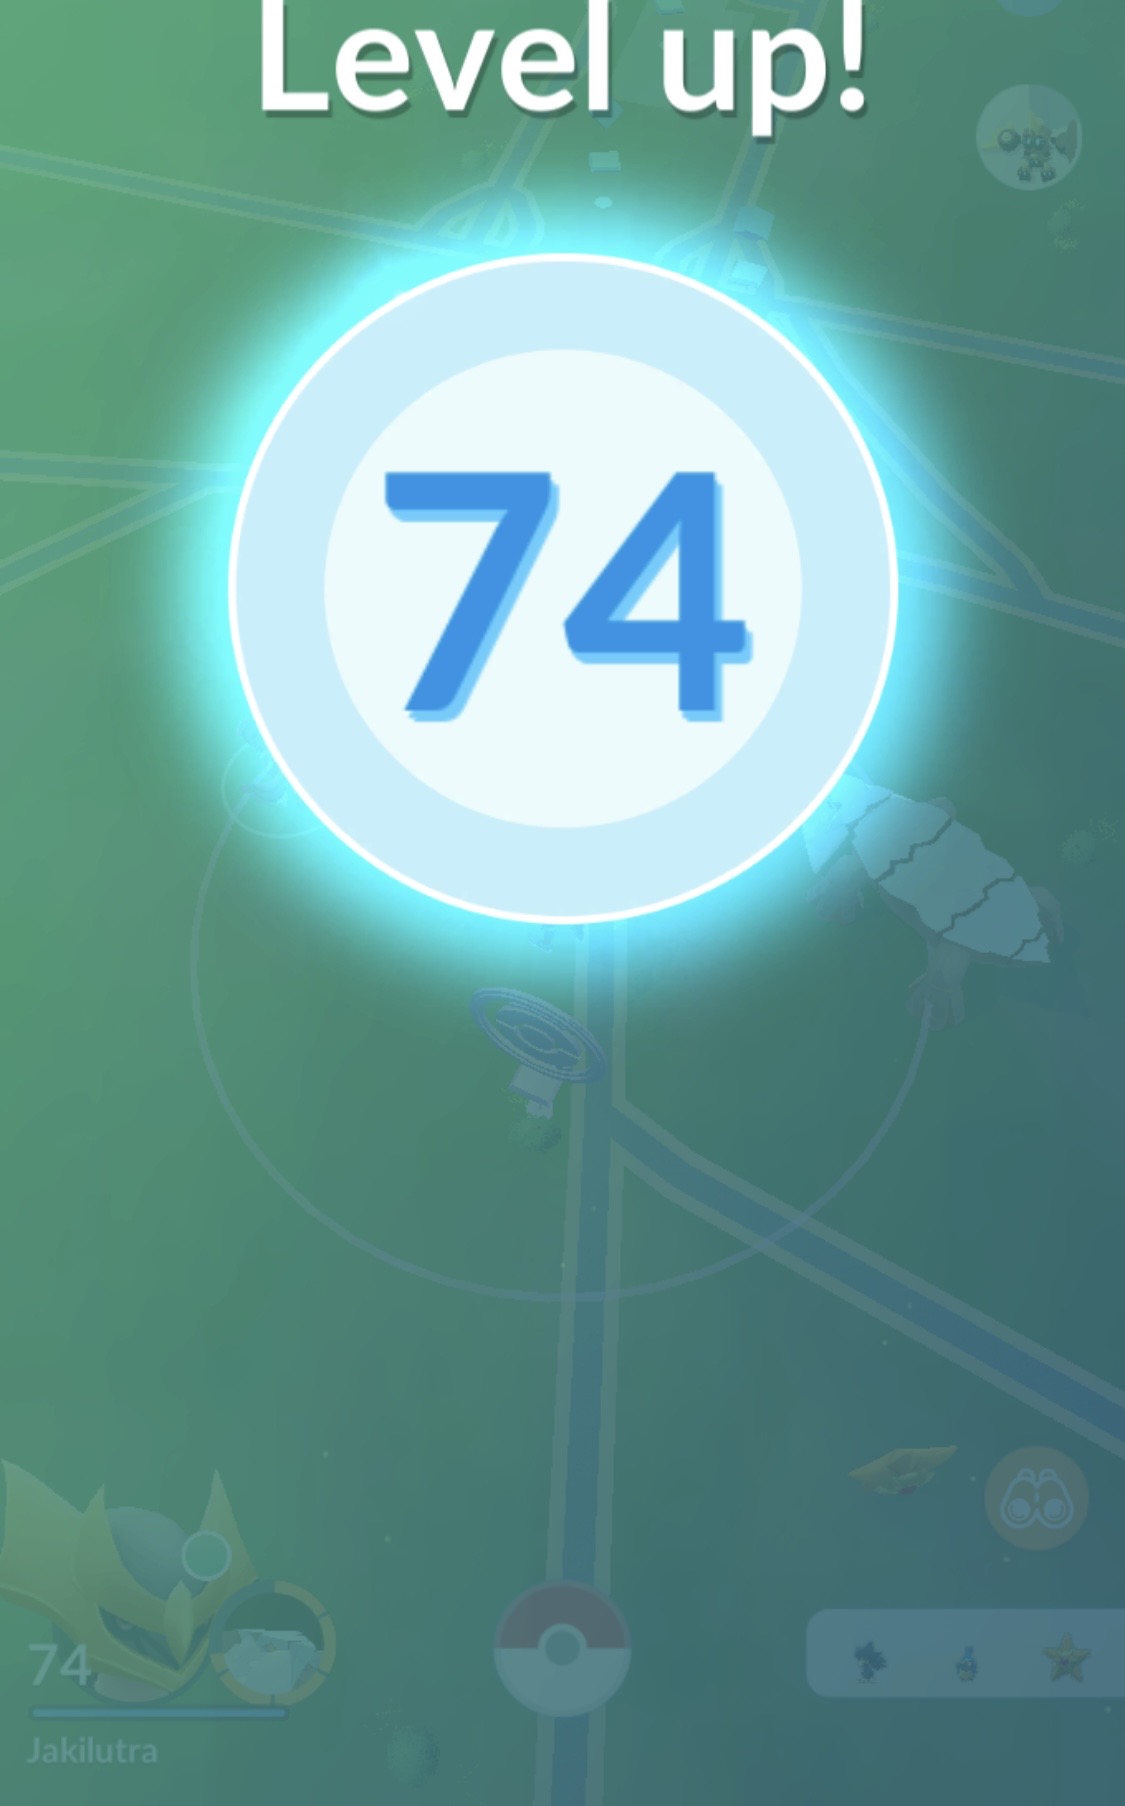
This week I finally reached trainer level 74.
I’ve gone up to 48 hundo best buddies and working on 2 more.
I’ve got at least 100 candy in every evolutionary line and I think I have enough candy to evolve in every line apart from Snom, also.
And I have 933 3 star and up now for unique species. 17 below the current maximum.

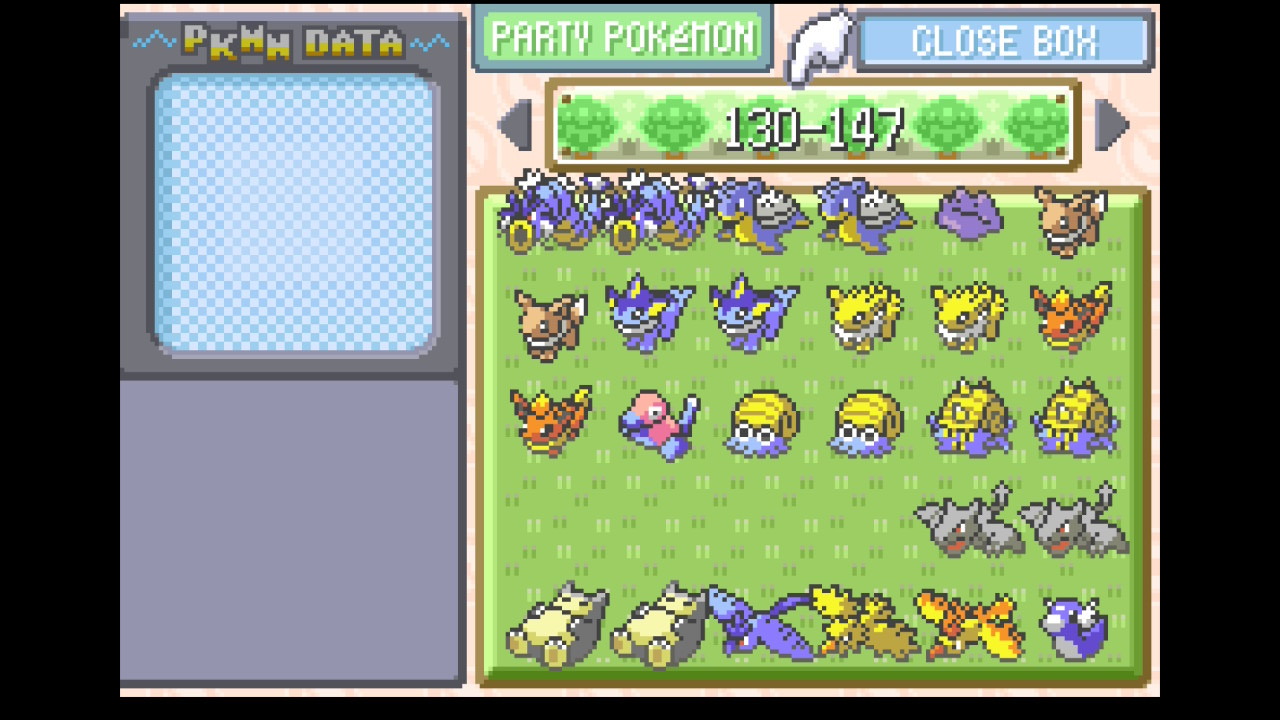
After counting more accurately, it seems 342 is the maximum to collect in one LeafGreen save file alone. I’ve prepared all the trade evolutions except the 2 more King’s Rock I need from another save file. I just have to evolve male and female Larvitar into Tyranitar and then it’s time to start FireRed!
I went over 100 hours played this week. Hatching the 1:7 female Pokémon took ages, particularly for the last Eevee in particular, which probably took some 30+ egg hatches. Evolving for Dragonair and Dragonite is my next task and then onto filling in the LeafGreen Johto gaps.

Evolving two Rhydon was a pain! Not many Kanto Pokémon left now to get on this LeafGreen save file: both Mr. Mime and Magmar; Male Pinsir and Lapras; Female Eevee, Vaporeon, Jolteon, Flareon, Omanyte, Omastar, and Aerodactyl; Male Dratini; and both Dragonair and Dragonite.
Edit: Bulbasaur line to get female too.
